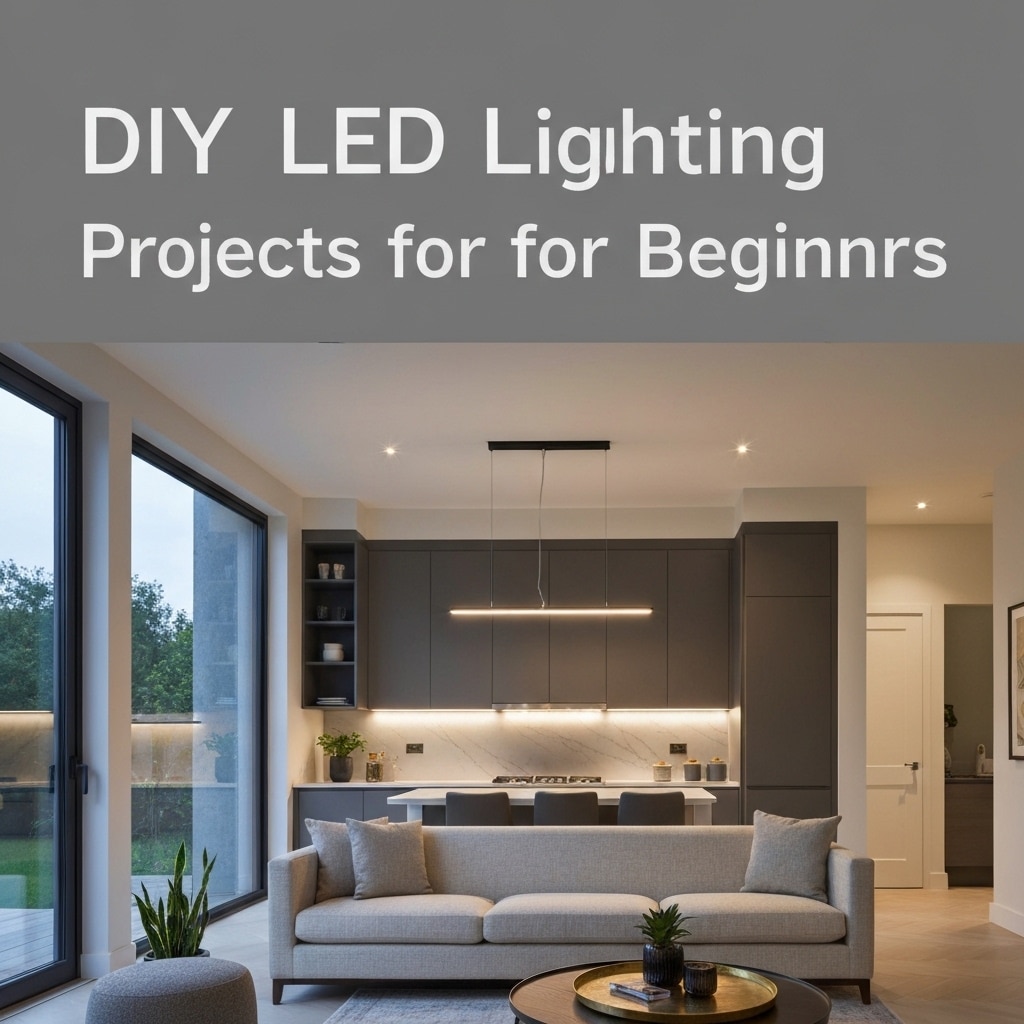
So, you want to dive into the world of DIY LED lighting projects, huh? Well, you’ve come to the right place. In this guide, I’ll be sharing with you some beginner-friendly projects that will help you master the art of illuminating your space with LED lights. No need to worry about complicated jargon or confusing instructions – I’ve got you covered. We’ll start by choosing the right LED lights for your project, and then I’ll walk you through the tools and materials you’ll need. From there, we’ll delve into basic wiring and circuitry, and soon enough, you’ll be creating your very own DIY LED light strips and designing your own LED lamps. Oh, and we can’t forget about adding some LED accent lighting to your furniture. So, let’s get started on this illuminating journey, shall we?
Key Takeaways
- Prioritize energy efficiency when choosing LED lights and essential tools
- Consider high color rendering index (CRI) for better color quality
- Evaluate brightness and color temperature for desired lighting effects
- Take advantage of LED lighting benefits such as long lifespan and durability
Choosing the Right LED Lights
I’ll share some tips on how I choose the right LED lights for my DIY projects. When it comes to LED light bulb options, there are a few factors I consider. First and foremost, I prioritize energy efficiency. LED lights are known for their low energy consumption, which not only helps the environment but also saves me money in the long run. Secondly, I look for lights that have a high color rendering index (CRI). This ensures that the colors of my projects are accurately represented. Additionally, I consider the brightness and color temperature of the LED lights. I prefer lights with adjustable brightness and a warm white color temperature, as it creates a cozy and inviting ambiance. The advantages of LED lighting, such as long lifespan and durability, further solidify my choice. With these considerations in mind, I can confidently select the perfect LED lights for my DIY projects.
Tools and Materials You’ll Need
When it comes to DIY LED projects, having the right tools is essential. From wire strippers to soldering irons, there are a few key tools that will make your projects much easier. Additionally, it’s important to gather the recommended materials for beginners, such as LED strips, resistors, and a power supply. By having the necessary tools and materials on hand, you’ll be ready to start your LED lighting projects with confidence.
Essential Tools for DIY LED Projects
To complete DIY LED lighting projects, you will need a set of essential tools and materials. One of the most important tools you’ll need is a soldering iron. This will allow you to connect wires and components securely. Additionally, you’ll need wire cutters and strippers to prepare the wires for soldering. A multimeter is another essential tool that will help you troubleshoot common LED lighting issues, such as identifying faulty connections or determining the voltage of a power source. When it comes to materials, you’ll need LED bulbs of different types, such as strip lights or individual bulbs, depending on your project. It’s also important to have resistors, capacitors, and a breadboard for testing and prototyping your circuit. With these essential tools and materials, you’ll be well-equipped to embark on your DIY LED lighting projects.
Recommended Materials for Beginners
For beginners, the key materials needed for DIY LED lighting projects include a soldering iron, wire cutters, strippers, a multimeter, LED bulbs of various types, resistors, capacitors, and a breadboard. These tools and materials are essential for successfully completing beginner-friendly projects and following step-by-step tutorials. To ensure a smooth process, it is important to have a soldering iron for securely connecting wires and components. Wire cutters and strippers are necessary for trimming and preparing wires for soldering. A multimeter is crucial for measuring voltage, current, and resistance, ensuring the correct functioning of the circuit. LED bulbs of different types allow for versatility in design and customization. Resistors and capacitors are used to regulate and control the flow of electricity in the circuit. Finally, a breadboard provides a convenient platform for prototyping and testing circuit designs before final assembly.
Basic Wiring and Circuitry
How can I effectively wire and create circuits for basic LED lighting projects? When it comes to working with electrical components, it is crucial to have a solid understanding of basic wiring and circuitry principles. This will not only ensure the proper functioning of your LED lighting projects but also help you avoid potential safety hazards. To get started, let’s begin with an introduction to electrical safety and some common wiring issues you may encounter:
| Electrical Safety | Troubleshooting Common Wiring Issues |
|---|---|
| Always wear insulated gloves and safety goggles when working with electricity. | Use a multimeter to check for loose connections or faulty wiring. |
| Make sure to turn off the power before starting any wiring work. | Check the polarity of the connections to ensure correct LED operation. |
| Properly ground your circuits to prevent electrical shocks. | Inspect the insulation of wires to avoid short circuits. |
| Use appropriate wire gauges for the current load to prevent overheating. | Verify the voltage requirements of your LEDs to avoid overloading the circuit. |
| Regularly inspect and maintain your wiring for any signs of damage or wear. | Double-check your connections and solder joints for any loose or cold solder joints. |
Creating DIY LED Light Strips
When it comes to creating DIY LED light strips, there are two main points to consider: power source options and color customization techniques. For power source options, you can choose between batteries or a direct connection to a power outlet. As for color customization, you can use RGB LED strips that allow you to change the colors using a remote control or a microcontroller.
Power Source Options
I prefer using a simple battery pack as the power source for my DIY LED light strips. Here are some reasons why:
- Portability: With a battery pack, I can easily move my LED light strips around without the need for a nearby power outlet.
- Flexibility: Battery-powered LED light strips give me the freedom to install them in any location, even in areas where there is no access to AC power.
- Safety: Using a battery eliminates the risk of electric shock that comes with using AC power for DIY LED light strips.
- Solar Power Options: For an eco-friendly alternative, I can also consider using solar-powered battery packs to charge and power my LED light strips.
Color Customization Techniques
To create DIY LED light strips with customizable colors, I experimented with different techniques. One of the most effective methods I found was using RGB LED strips. RGB stands for red, green, and blue, which are the primary colors used in LED color mixing. These strips contain tiny individual LEDs that can emit light in these three colors. By controlling the intensity of each color, I was able to create a wide range of custom colors. The strips were easy to install and came with a controller that allowed me to adjust the color settings. With this technique, I was able to achieve vibrant and dynamic lighting effects in my DIY LED light strips.
Designing Your Own LED Lamp
Designing my own LED lamp was an exciting and creative endeavor. I had complete control over the lamp design and LED placement, allowing me to create a unique and personalized lighting fixture. Here are some key points to consider when designing your own LED lamp:
- Choose the right LED: Select an LED that matches your desired brightness and color temperature.
- Consider the lamp style: Decide on the overall design and style of your lamp, whether it’s modern, minimalist, or vintage.
- Plan the LED placement: Determine where you want to place the LEDs within the lamp structure to achieve the desired lighting effect.
- Think about power source and wiring: Consider how you will power your lamp and plan the wiring accordingly.
Designing your own LED lamp allows you to showcase your creativity while creating a functional and aesthetically pleasing lighting fixture.
Adding LED Accent Lighting to Furniture
When designing my own LED lamp, I also explored the option of adding LED accent lighting to furniture. It’s a fantastic way to enhance the atmosphere of any room and make a bold design statement. There are countless furniture lighting ideas and creative lighting techniques to choose from, allowing you to customize your furniture in unique and captivating ways. You can install LED strips underneath shelves or cabinets to create a subtle glow, or place LED spotlights behind furniture to highlight specific objects or areas. Another popular option is to embed LEDs directly into furniture, such as in a coffee table or bookshelf, to create a stunning visual effect. The possibilities are endless, and with a little creativity, you can transform your furniture into functional works of art.


