As I embark on the journey of installing LED ceiling lights, I am reminded of the saying, “A stitch in time saves nine.” Indeed, proper planning and execution can save us from future headaches and ensure a hassle-free installation. In this guide, I will share tips and tricks for a seamless LED ceiling light installation. From gathering the necessary tools to choosing the right lighting fixture, preparing the installation area, and following the manufacturer’s instructions, I will provide you with the knowledge and expertise needed for a successful project. So let’s dive in and make this installation a breeze, ensuring that your LED ceiling lights illuminate your space with brilliance and efficiency.
Key Takeaways
- Gather the necessary tools and measure the ceiling height before starting the installation process.
- Properly attach and secure the mounting bracket to the electrical box on the ceiling.
- Strip the insulation from the electrical wires and connect them tightly using wire connectors.
- Test the LED light after installation, adjust its position if needed, and maximize its benefits by choosing the right color temperature, considering dimmable options, and regularly maintaining the lights.
Gather the Necessary Tools
To begin the installation process of an LED ceiling light, I will need to gather the necessary tools. Selecting suitable tools is crucial to ensure a smooth and efficient installation. Firstly, a ladder or step stool is essential for reaching the ceiling safely. It is important to choose a sturdy and stable option to minimize the risk of accidents. Additionally, a voltage tester is necessary to ensure that the power supply is turned off before working on the light fixture. This tool helps prevent electric shocks and potential damage to the circuit. Lastly, a screwdriver set with various sizes is indispensable for removing and installing screws during the process. By gathering these tools and taking safety precautions, I can confidently proceed with the installation of my LED ceiling light.
Choose the Right LED Ceiling Light
When choosing the right LED ceiling light, there are two important factors to consider: wattage and brightness, and style and aesthetics. The wattage and brightness will determine the amount of light the fixture will emit, so it’s important to choose one that matches the desired level of illumination. Additionally, the style and aesthetics of the LED ceiling light should complement the overall design and decor of the room to create a cohesive and visually appealing space.
Wattage and Brightness
I recommend selecting an LED ceiling light with the appropriate wattage and brightness for your space. Wattage control is crucial as it determines the power consumption and intensity of the light. For a brighter and more illuminated room, choose a higher wattage. However, keep in mind that excessively high wattage may cause discomfort and glare. It is also important to consider the lighting color. Different lighting colors create different atmospheres, so choose one that suits your preferences and the function of the space. Warm white is ideal for a cozy and relaxing ambiance, while cool white is perfect for a bright and energetic environment. By carefully selecting the wattage and lighting color, you can create the perfect lighting experience in your space.
Style and Aesthetics
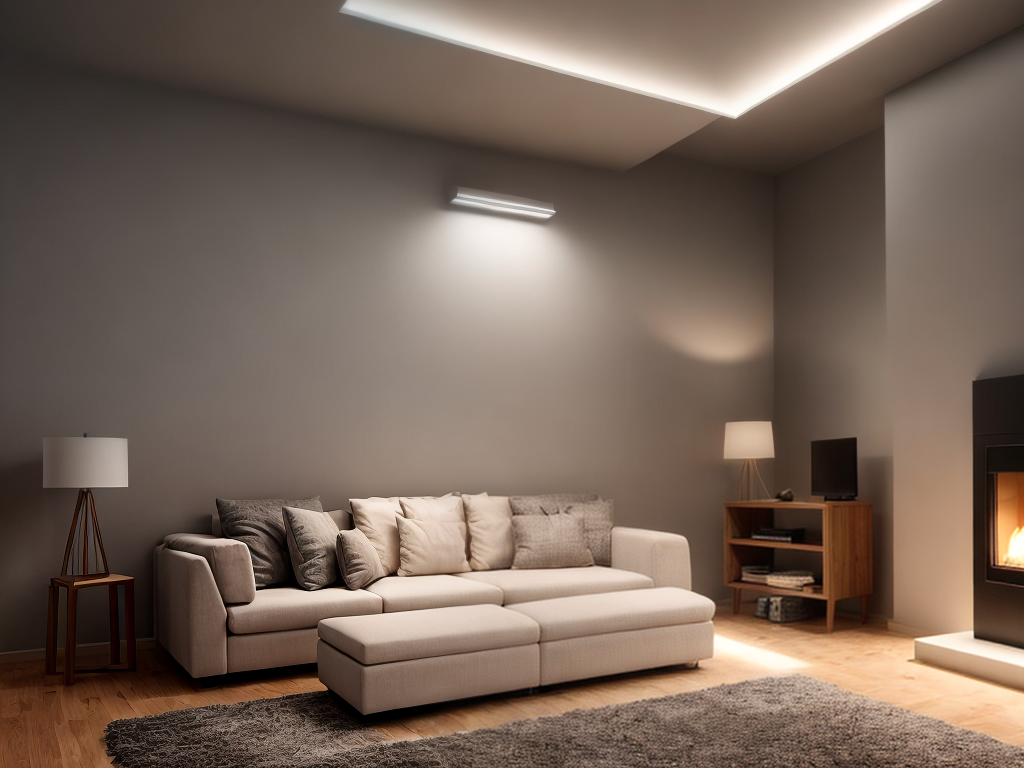
For my LED ceiling light installation, I carefully considered the style and aesthetics of the lights to ensure they would complement the overall design of my space. Lighting design is an essential aspect of creating a visually appealing and functional environment. When choosing LED ceiling lights, it’s important to consider the color temperature. Color temperature refers to the warmth or coolness of the light emitted by the LED. For a cozy and intimate ambiance, a warm white light with a lower color temperature, around 2700K to 3000K, would be suitable. On the other hand, for a modern and crisp look, a cool white light with a higher color temperature, around 4000K to 5000K, would be more appropriate. By selecting the right color temperature, I was able to enhance the style and aesthetics of my space with the LED ceiling lights.
Prepare the Installation Area
Before installing the LED ceiling light, it is important to prepare the installation area properly. This involves clearing any clutter or obstructions that may hinder the installation process. Additionally, accurate measurements should be taken to ensure that the light fixture fits perfectly in the designated space. Taking these steps will help ensure a smooth and hassle-free installation experience.
Clear Clutter for Installation
To ensure a smooth LED ceiling light installation, it is important to clear away any clutter from the installation area. This step is crucial for creating a safe and organized environment. One helpful tip for organizing wires is to use cable management solutions. These can help conceal and hide cables, making your installation area look neat and tidy. You can find a variety of cable management options, such as cable clips, cable sleeves, and cable trays, to suit your specific needs. Another effective method is to label your cables and use cable ties to keep them organized. By taking the time to clear clutter and organize wires, you can create a clean and efficient space for installing your LED ceiling lights.
Measure Space Accurately
How can I accurately measure the space to prepare for the installation of LED ceiling lights? Precise measurements are crucial to ensure a hassle-free installation process. Here are some tips to help you achieve accurate measurements and avoid common mistakes:
- Use a tape measure: Invest in a high-quality tape measure with clear markings for precise measurements.
- Measure multiple times: Take measurements at least twice to ensure accuracy and consistency.
- Account for obstacles: Consider any obstacles in the installation area, such as furniture or fixtures, and measure around them.
- Take note of ceiling height: Measure the height of the ceiling to determine the appropriate length of the LED ceiling light fixture.
Turn off the Power
I always make sure to switch off the power before starting the installation process for LED ceiling lights. This step is crucial to ensure safety during the installation process. By turning off the power, you eliminate the risk of electrocution and prevent any damage to the electrical wiring. Before beginning, locate the circuit breaker or fuse box and switch off the power to the specific area where you will be working. It is also advisable to use a voltage tester to double-check that the power is indeed turned off before proceeding. Taking these safety precautions will provide you with peace of mind and allow you to work confidently on installing your LED ceiling lights.
Follow the Manufacturer’s Instructions
Before starting the installation process, it is important to carefully read and follow the manufacturer’s instructions for your LED ceiling lights. This will ensure that you have a hassle-free installation and avoid any potential issues down the line. Here are some key reasons why following the manufacturer’s instructions is crucial:
-
Proper Installation: The instructions will guide you on how to correctly install the LED ceiling lights, ensuring that they are securely mounted and wired.
-
Safety: Following the instructions will help you avoid any safety hazards during the installation process, such as electric shocks or short circuits.
-
LED Ceiling Light Maintenance: The instructions may contain valuable information on how to properly maintain your LED ceiling lights, ensuring their longevity and optimal performance.
-
Troubleshooting Common Installation Issues: The instructions may provide troubleshooting tips for common installation issues, helping you troubleshoot and resolve any problems that may arise.
Test and Adjust the Lighting
To ensure proper functionality, I recommend testing and adjusting the lighting of your LED ceiling lights after installation. This step is crucial to achieve the desired lighting atmosphere and optimize energy efficiency. Begin by turning on the lights and observing the brightness and color temperature. If adjustments are needed, consult the user manual or the manufacturer’s website for guidance on how to modify the settings. Use a light meter to measure the intensity of the light at different points in the room to ensure even distribution. Additionally, check for any flickering or buzzing noises, as these can indicate a wiring issue or a faulty fixture. By thoroughly testing and adjusting your lighting fixtures, you can create a comfortable and well-lit space while maximizing the benefits of LED technology.


